Hyper-V Server
UPDATED April 2024
Most applications function perfectly when prepared in a Fresh Start machine with DaDesktop (DD). However, a small number of applications don't behave as expected after cloning and need a few additional steps to work correctly.
System Details
- Hyper-V Server 2019 and later (other versions likely show similar behaviour)
- Installed using a Windows 10 / Windows Server 2019 template
Fresh Start Fix Notes
-
Please note this is a general guide for resolving this issue in a Fresh Start environment. The steps may vary based on your exact configuration.
-
Summary — To fix the problem in Fresh Start, follow this approach: Hyper-V runs into duplicate MAC address issues with the External switch after cloning. So we either select the second pre-configured Intel network adapter or remove the external switch from the FreshStart machine before cloning (details below).
Fix process
1. The Hyper-V Manager application appears below. Right-click and choose Virtual Switch Manager.
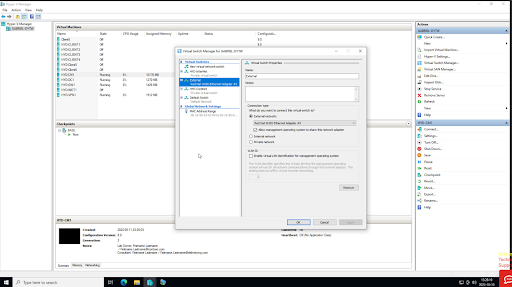
2. In the Virtual Switch Manager dialog, select the 'External' switch and then pick the Intel Pro/1000 network connection as shown. NB: this option is only available with newer Windows 10 templates, v71 and above. Click OK and save the configuration if needed. Close the Hyper-V Manager.
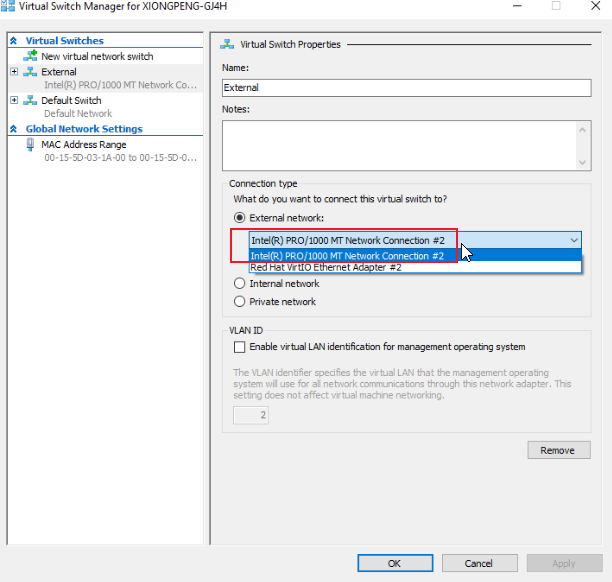
3. Continue setting up the FreshStart machine as required. Once you've finished, shut down the machine from inside the VM and wait until it stops completely. Then clone the FreshStart machine to the Trainer and Participants' machines as needed.
The Hyper-V server should now operate correctly on the Trainers' and Participants' machines. Without this adjustment, participants may see each other’s machines instead of their own, because cloning the external network card createsduplicate MAC addresses with the External switch when cloned from the FreshStart machine.
If you’re still running into problems, reach out to DaDesktop Support via the chat app — we’re happy to help.