Beta: Recording Management Feature
Within the Recordings tab of any course, you now have full control to manage all recordings and videos displayed on the course page. This functionality is currently in its Beta phase, allowing you to create modules, edit and trim video content, along with several other capabilities.
Accessing Recording Management
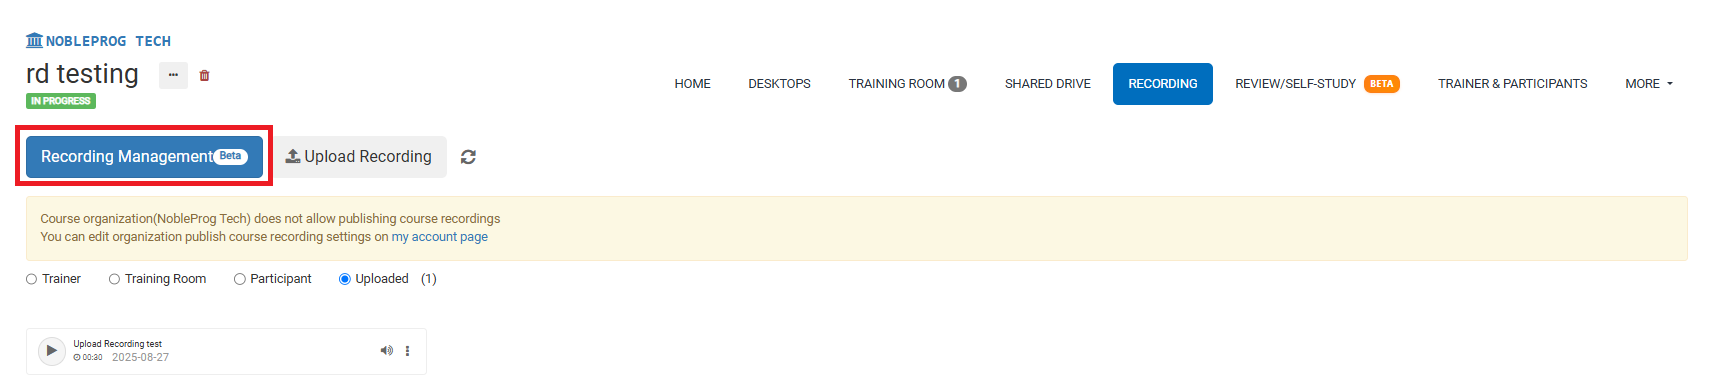
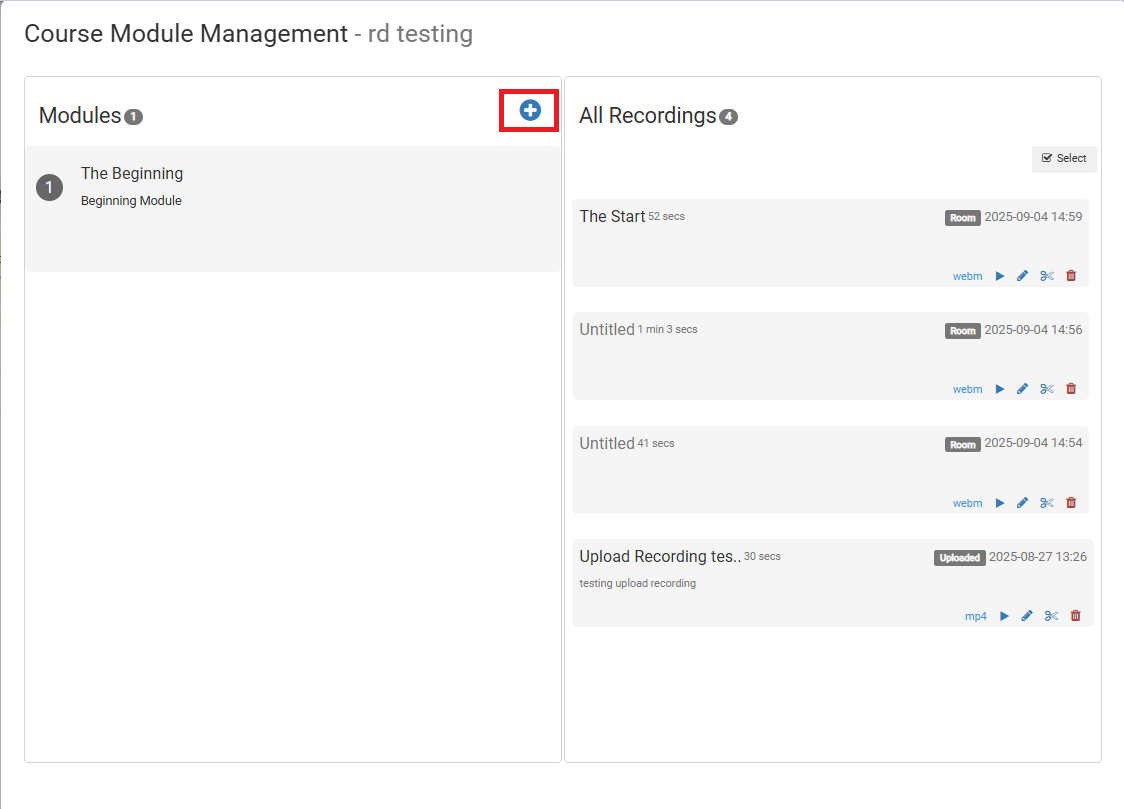
In the recordings tab, you'll spot a prominent blue button on the left-hand side labeled "Recording Management". As sessions are recorded, the resulting videos will collect on this page, possibly tagged as Trainer, Training Room, or Participant.
If recordings you've made aren't appearing, use the refresh button next to the "Recording Management" button.
Clicking the button opens a pop-up window.
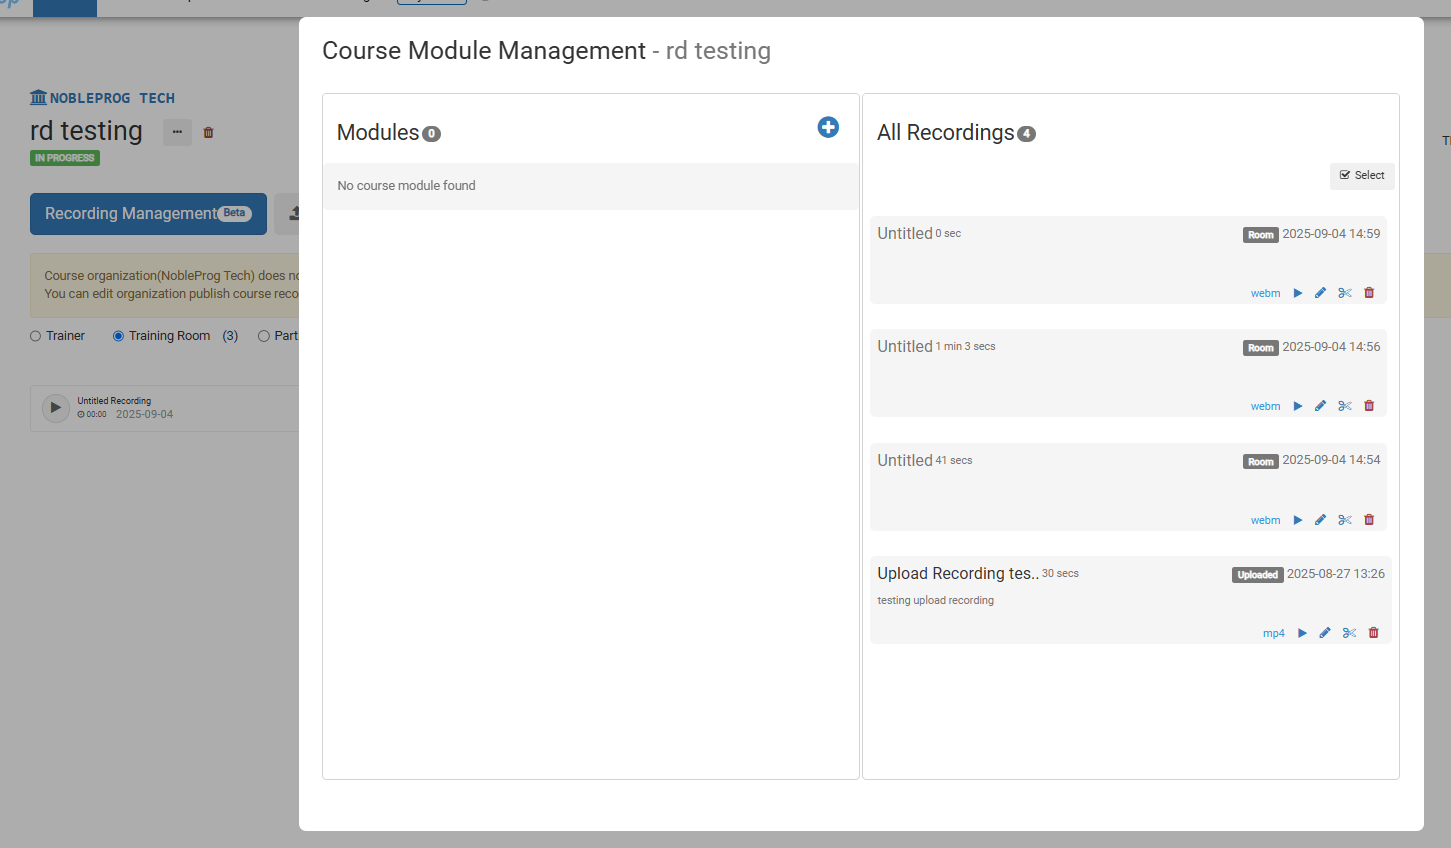
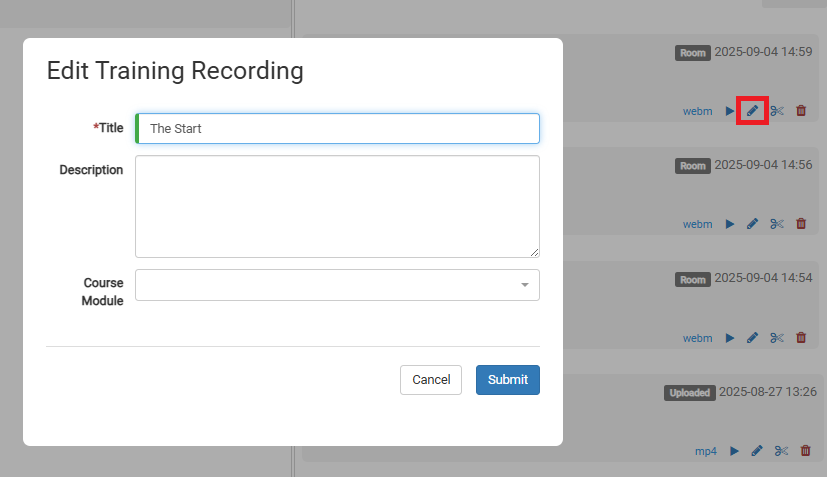
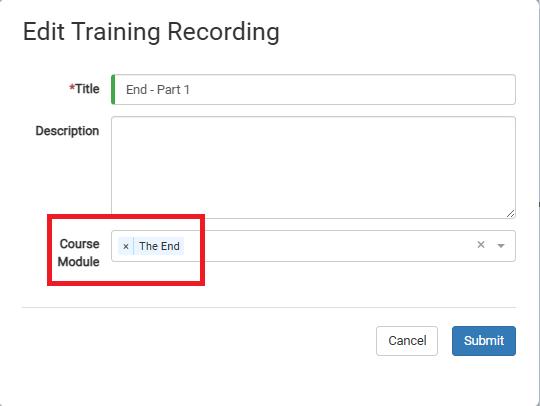
Here, you can edit a video by selecting the pencil icon on the respective entry.
To create modules, click the (+) icon beneath the Modules box.
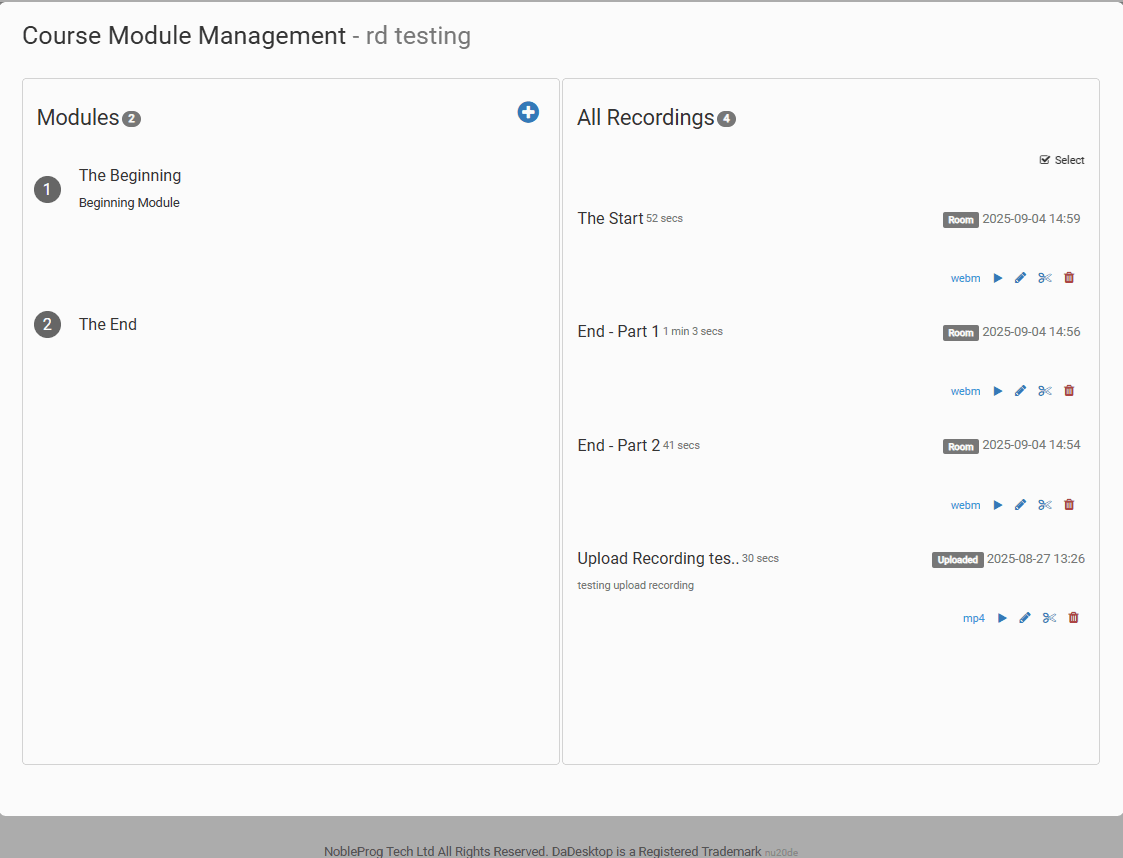
After modules are set up, you can organize videos by dragging and dropping them into the desired module.
Alternatively, you can assign a video to a module manually during the video editing process.
Video Editing
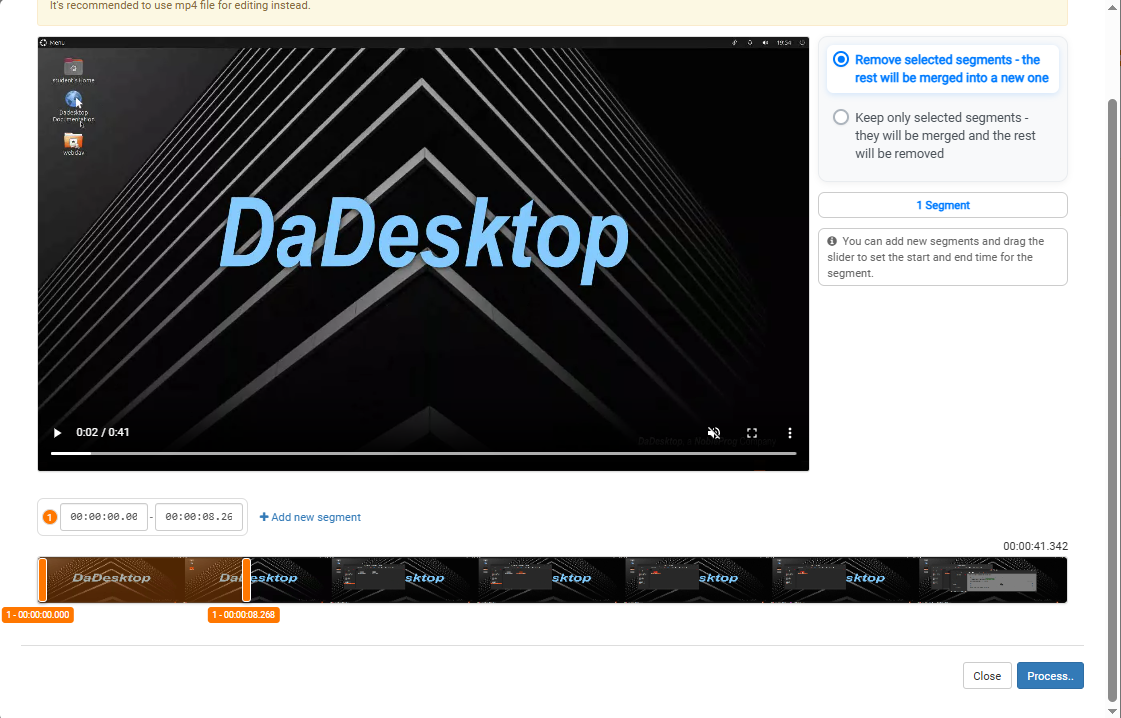
Basic video editing tools are available. If there are sections where you're inactive or searching for a file, you can remove those from the final video by clicking the scissors icon to trim the clip.

This opens an Edit/Cut Recording window where you can scrub through and cut the recording. Once satisfied, process the video to apply your edits.